Brian Gongol
Though it's an obscure topic, the use of an "alternate" administrative login for your computer is one of the most effective ways of improving computer security. Most people have just one login name on their Windows-based computers -- we'll call this user "My Computer Name." The problem is that if there's only one login name, that login has to have full administrative rights to the computer. In short, that means that anyone logged in under "My Computer Name" can install any programs on the computer at any time. Sounds OK, right?
Dead wrong. The problem is that most people, at one time or another, are likely to stumble upon a website or open an e-mail containing a virus or some other kind of malware. While there are many steps one can take to prevent this kind of damage from taking place (like loading and running effective antivirus programs, and by using an alternate Internet browser), there's always a chance that some kind of malicious software will still get through.
The best safety net could quite possibly be the use of an alternate computer administrator -- a separate "Administrator" login from the one you usually use. By creating a separate "Administrator," you can then change your normal login to "Limited Access" mode. By doing this, you make it impossible for the limited account to install most programs -- which means that even if you do encounter a virus, it usually won't be able to do much damage. That's because most viruses have to install themselves as programs in order to work. If you encounter a virus while using a limited account, then (generally) the virus can't do much damage.
Here's how to set it up:
Before you make any major changes to your computer, always save a backup.
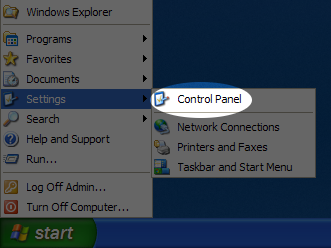
Step 1:
Click on the "Start" menu

Step 2:
Click on "Settings", then "Control Panel"
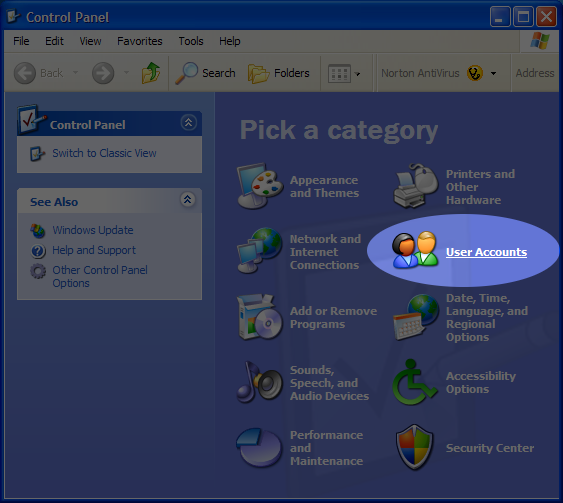
Step 3:
Click on "User Accounts"
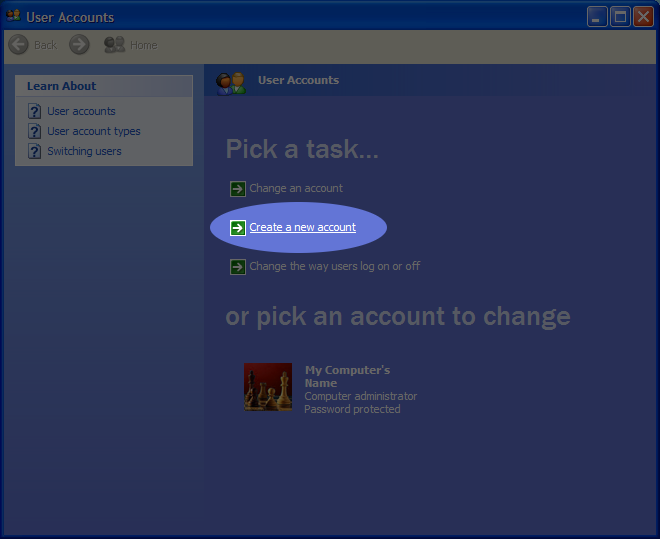
Step 4:
Click on "Create a New Account"
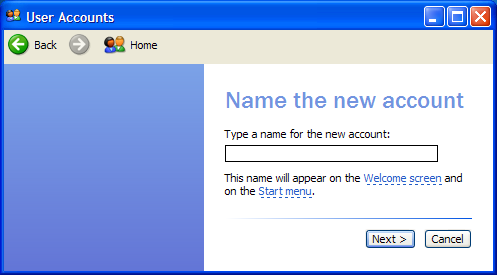
Step 5:
Name the new account (this example uses the name "Admin")
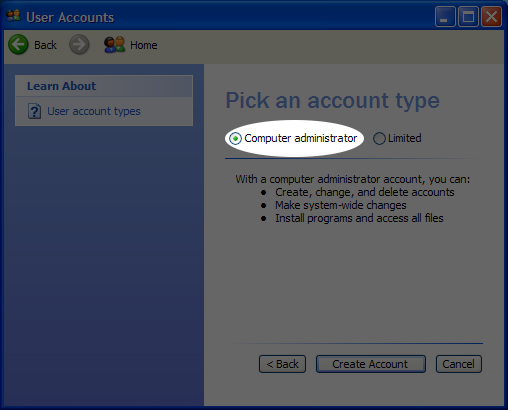
Step 6:
Choose "Computer Administrator", then click "Create Account"
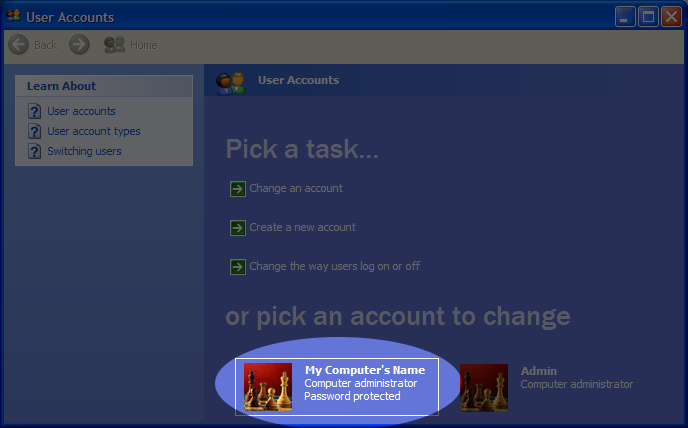
Step 7:
Click on your original account (here, we call it "My Computer's Name")
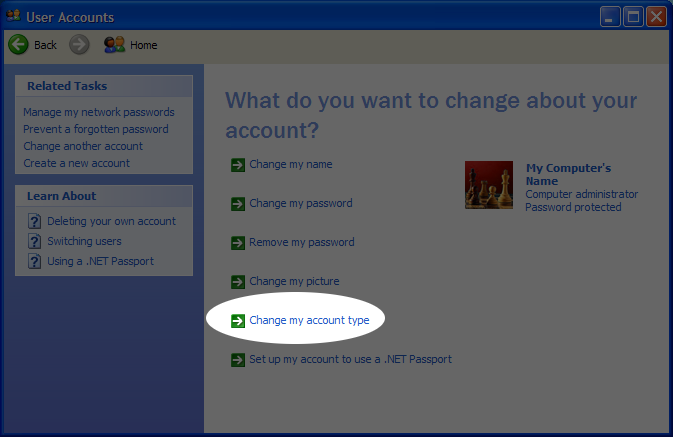
Step 8:
Click on "Change My Account Type"
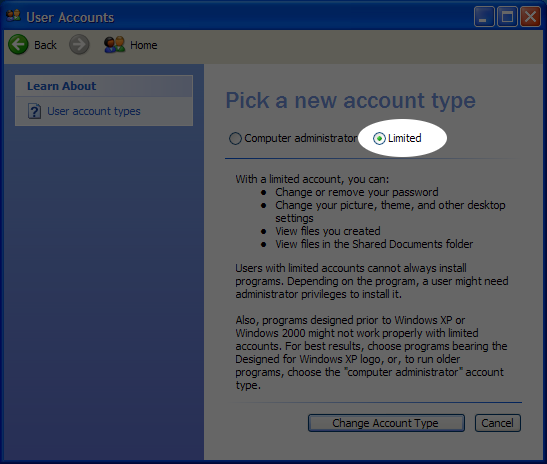
Step 9:
Choose "Limited", then click "Change Account Type"
That's all. Occasionally, you'll have to login as the computer administrator ("Admin") in order to install new programs or update old ones. But in general, you should use the limited account ("My Computer Name") for most of your regular computer use.
Additionally, you should consider adding passwords to your administrator account, especially if other people use the computer. This helps ensure that no one can install programs without your permission.